Installation tips and jointing procedures for compression fittings
Installation D 16-63
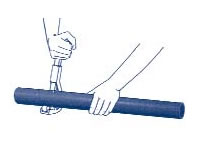 |
1. Cut the pipe square at 90° to the length using a pipe cutter. |
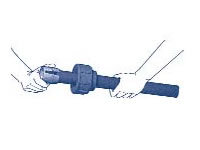 |
2. Insert on the pipe in the following order collar and clinching and place the O-ring on the mouth of the pipe. (fig 2 & 3) |
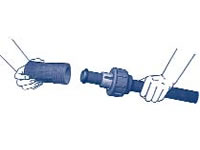 |
3. Insert the body of the joint until the gasket is struck in the body itself (fig 4) |
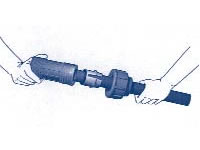 |
4. Insert the body of the joint until the gasket has slid inside the body. |
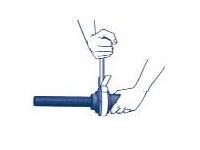 |
5. Fully tighten the nut. The nut can be tightened manually up to d. 32 mm, but for larger diameters it is advisable to use a wrench. |
Installation for 75-90mm fittings
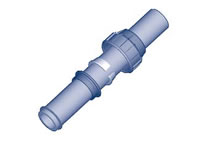 |
1. Cut the pipe square at 90° to the length using a pipe cutter. Lubricate the pipe and the gasket so that the fittings sit correctly on the pipe. Insert the fittings onto the pipe in the following order: ring nut clinching ring, thrust bushing and put the gasket on the mouth of the pipe. |
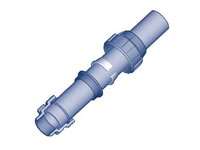 |
2. Push the body of the fitting on the pipe until the gasket is pushed inside the body (fig.2) |
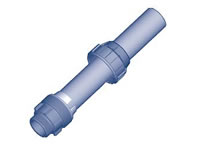 |
3. Push the body of the fitting on the pipe until the gasket is struck in the body itself (fig.2) |
Installation for 110mm fittings
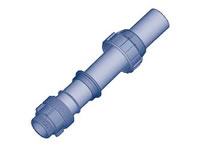 |
1. Cut the pipe square at 90° to the length using a pipe cutter. Lubricate the pipe and the gasket so that the fittings sit correctly on the pipe. Insert the fittings onto the pipe in the following order: ring nut, clinching ring, thrust bushing, gasket and body of the fitting. |
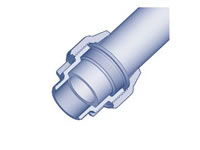 |
2. Fully tighten the nut until the gasket is stuck inside the body. |
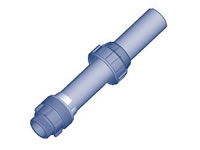 |
3. Untighten the nut, open the clenching ring and insert it on the pipe, fully tighten the nut using a belt or chain wrench. |